Welcome to an enchanting journey of creativity and fun with THOEDORA dolls! Have you ever wished to create your own paper doll, filled with charm and personality? Well, get ready as we are entering into the world of DIY paper dolls; perfect for little girls with big imaginations! In this blog post, we’ll guide you through every step of the process, making it easy and enjoyable for everyone.
But there is something special! We are crafting a Scientist doll to spark the curiosity of little girls for the very first discipline of STEAM.
So, gather your favorite art supplies, and let’s bring our dream paper doll to life! From designing stylish outfits to adding intricate details, we’ll explore the ins and outs of creating a one-of-a-kind paper doll for little girls.
Benefits of DIY Paper Dolls
DIY activities are like a mini-vacation for your mind, offering a therapeutic escape from the hustle and bustle of everyday life. And when it comes to crafting paper dolls for little girls, a simple DIY awakens the inner artist within us, inviting us to explore, experiment, and, most importantly, have fun!
Engaging in paper doll-making can be a therapeutic activity. It can provide:
- Stress Relief and Relaxation
- Development of Fine Motor Skills
- Opportunities for Imaginative Play
How to Make a Paper Doll
Gather Your Material
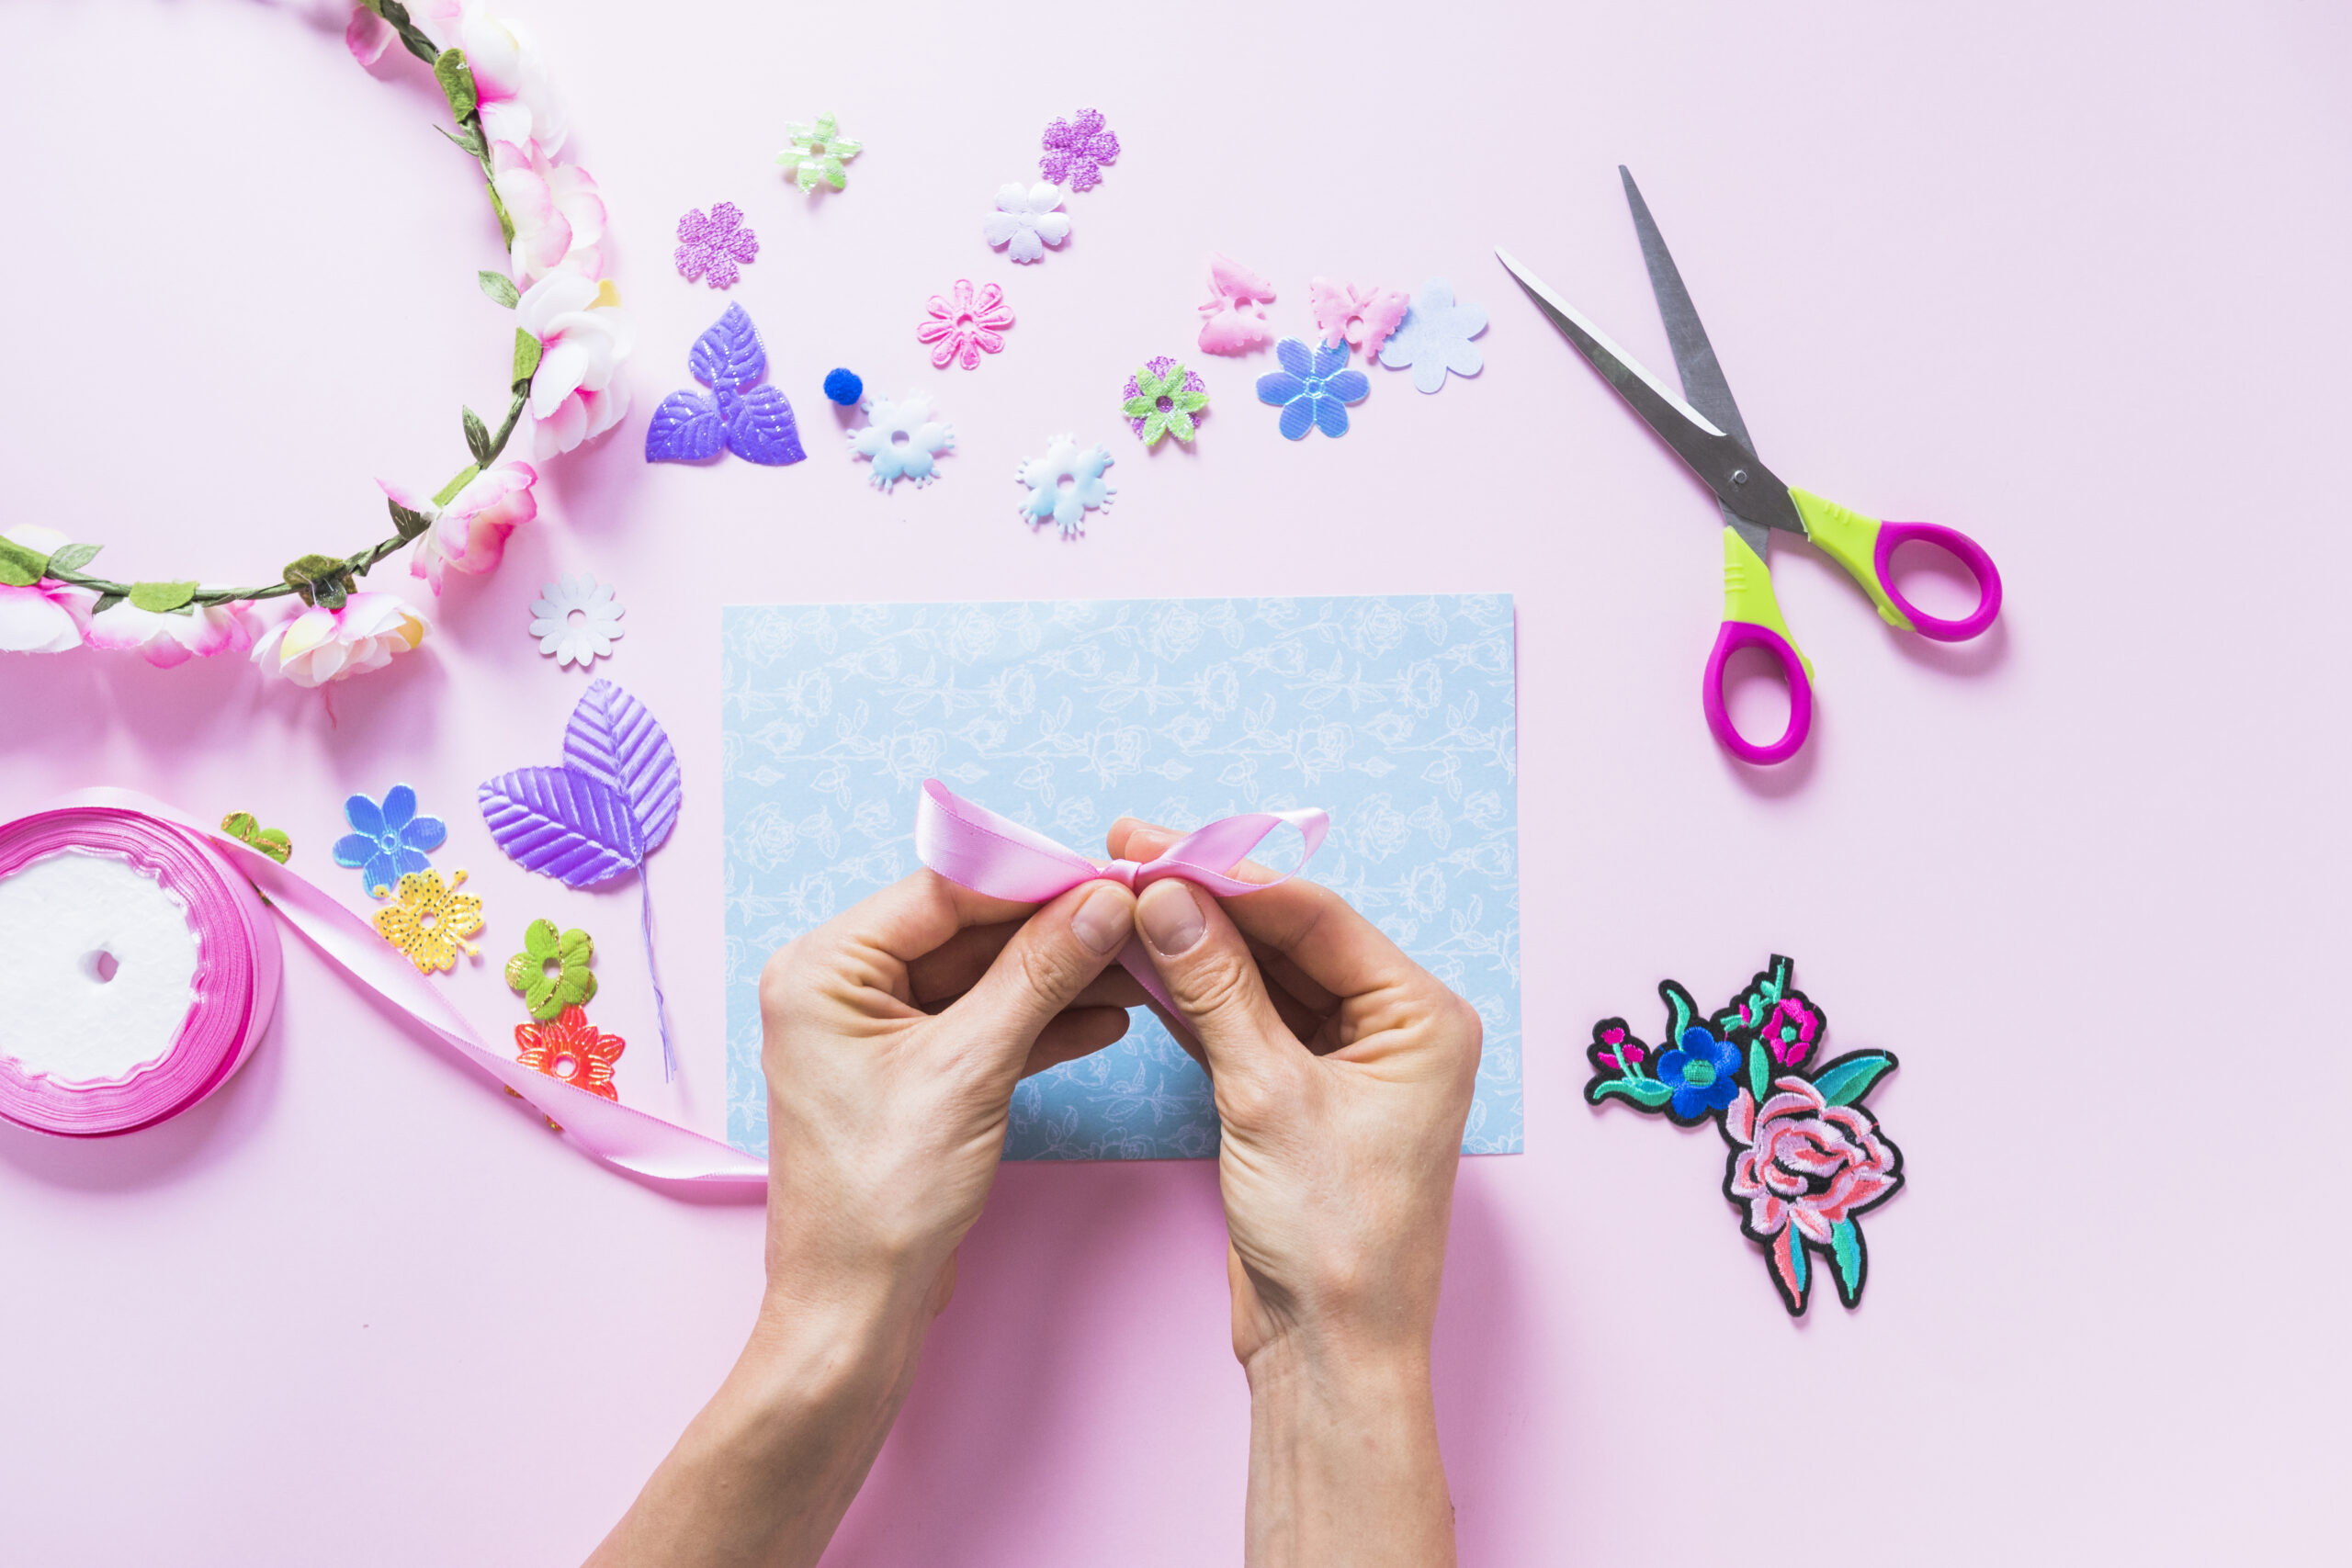
Get ready to bring your Scientist doll to life with these essential materials!
- Paper Doll Base: Start with a white sturdy paper or cardstock as the foundation for your paper doll.
- Colorful Pencils/Markers: To bring your doll to life you need to fill in colors. From vibrant hues to pastel shades, let your imagination run wild as you design the perfect outfits and accessories for your paper doll.
- Scissors: To snip and trim you will need a pair of scissors!
- Glue or Tape: You need a glue stick or double-sided tape for mess-free crafting.
- Decorative items: To add a touch of flair and personality to your doll, you can use colorful papers, sparkling gems, ribbons, sequins, and fabric scraps or stickers to customize your paper doll.
With these materials in hand, you’re all set to embark on a delightful crafting adventure and create a paper doll that’s sure to delight little girls everywhere!
Step-by-Step Guide
- Draw or Print a Template: Start by drawing or printing a template for your paper doll. You can find a variety of scientist templates online, from simple stick figures to detailed images of lab coats and goggles. Choose one that sparks your creativity!
- Cut out the Template: Carefully cut out the shape of the paper doll using scissors. Use sturdy paper or cardstock for durability.
- Let Your Creativity Flow: Add personality to your scientist paper doll by coloring its hair with your favorite colors, crayons, or markers. Experiment with vibrant hues and imaginative styles to bring your scientist to life!
- Cutting out the Clothing: Get creative with paper sheets in different colors to trace out the upper and lower body sections of your paper doll. Leave some extra space around the outline to ensure a perfect fit for the clothing. You can also use fabric scraps for added texture and realism.
- Dress Your Doll with Style: Attach the clothing to your paper doll and add a lab coat for a realistic touch. For the Lab coat, trace the upper body part again on white paper, making it longer to create a coat look. Paste it to the sides of your doll, leaving it centrally open for a realistic look. Remember to create matching shoes!
- Decoration Time: Now the paper doll is almost ready, it’s time to add those special finishing touches! Do you have stickers on hand? Consider adding the letter “S” to the lab coat to represent “scientist” by writing it by hand or using stickers. For buttons, paste little pearls or gems to add a touch of sparkle and charm to your paper doll’s attire.
- Make Your Doll Stand: Want to display your paper doll? Stick it to the back of an empty toilet paper roll or cardboard roll for added stability and easy display!
Additional Tip: Quick Lab Structure for Your Scientist
Take your scientist paper doll to the next level with a simple lab structure that’s quick and easy to make! Follow these steps:
- Print a Lab Template.
- Use markers, crayons, or colored pencils and add vibrant colors to the lab template. You can get creative with details by drawing equipment, shelves, and scientific instruments.
- Find an empty shoe box or similar cardboard container. Carefully paste the colored lab template onto the inner walls of the box using glue or tape.
- To add depth and realism, cut out windows on the sides of the box or stick colored straws as pipes to simulate vents or equipment connections.
With this quick lab structure, your scientist paper doll will have a dedicated workspace to conduct experiments and make discoveries. It’s a simple yet effective way to bring your DIY project to life!
Final Words
Creating your paper doll is fun! Whether you’re designing a scientist paper doll or delving into other themes, DIY activities like this offer a therapeutic escape from the hustle and bustle of everyday life and bring a smile to your face. As you engage in the process, you not only relieve stress and develop fine motor skills but also ignite your imagination through imaginative play.
So, gather your materials, let your creativity flow, and embark on an adventure with your paper doll creations. Whether you’re crafting alone or involving friends and family, each paper doll becomes a unique reflection of your personality. With paper dolls, the only limit is your imagination. So go ahead, and let the magic of DIY lighten up your soul!